Self-
Evaluation
What actually happened?Evaluate the
whole FMP, was it successful? If so, how/why? If not what could you
have done to improve the outcome?
Over all I believe that my FMP to be
successful as I have met my main aims and targets, which was to
create a product that is suitable and will benefit disabled people.
As well as producing a product that benefited my disabled mother who
suffers from Multiple Sclerosis (MS), to whom was my client. I
researched Multiple
Sclerosis which is
a
condition of the central
nervous system.
In
MS, the coating around nerve
fibre (called
myelin)
is damaged, causing a range of symptoms. After researching about MS,
I decided to visit both The Science Museum as well as The Natural
History Museum. This visit gave me more of a insight about the human
body, mainly the parts of the body affected by MS such the central
nervous system, the brain and nerve cells.
After
conversing with my mother, she highlighted a major problem disabled
people face; it was that
disabled people find it difficult to clean their house independently.
Initially I wanted to create a product that would aid a
disabled person when cleaning such as a hoover, giving them more
independence and freedom. However, due to many individuals having
different disabilities and mobility issues, some people may struggle
to use a hoover; others may not have the ability to use it. This led
me to look further a field to other problems that disabled people
face as well as existing products available for disabled people.
Another example of a problem my mother and many other disabled people
face, is difficulty in trying to pour hot water out of the kettle to
make a hot drink. Due to her lack of balance she needs to hold on to
a secure surfaces to support her weight, as well as trying to pour
the kettle at a angle focusing on both things at once; this task can
be highly dangerous. A jug kettle tipping device are made so that
most standard sized jug kettles can fit in it. It consists of a
coated wire frame with a central wire cradle which holds the kettle.
The cradle is attached to the frame via a pivot, enabling the
supported kettle to be tilted to pour out the content.
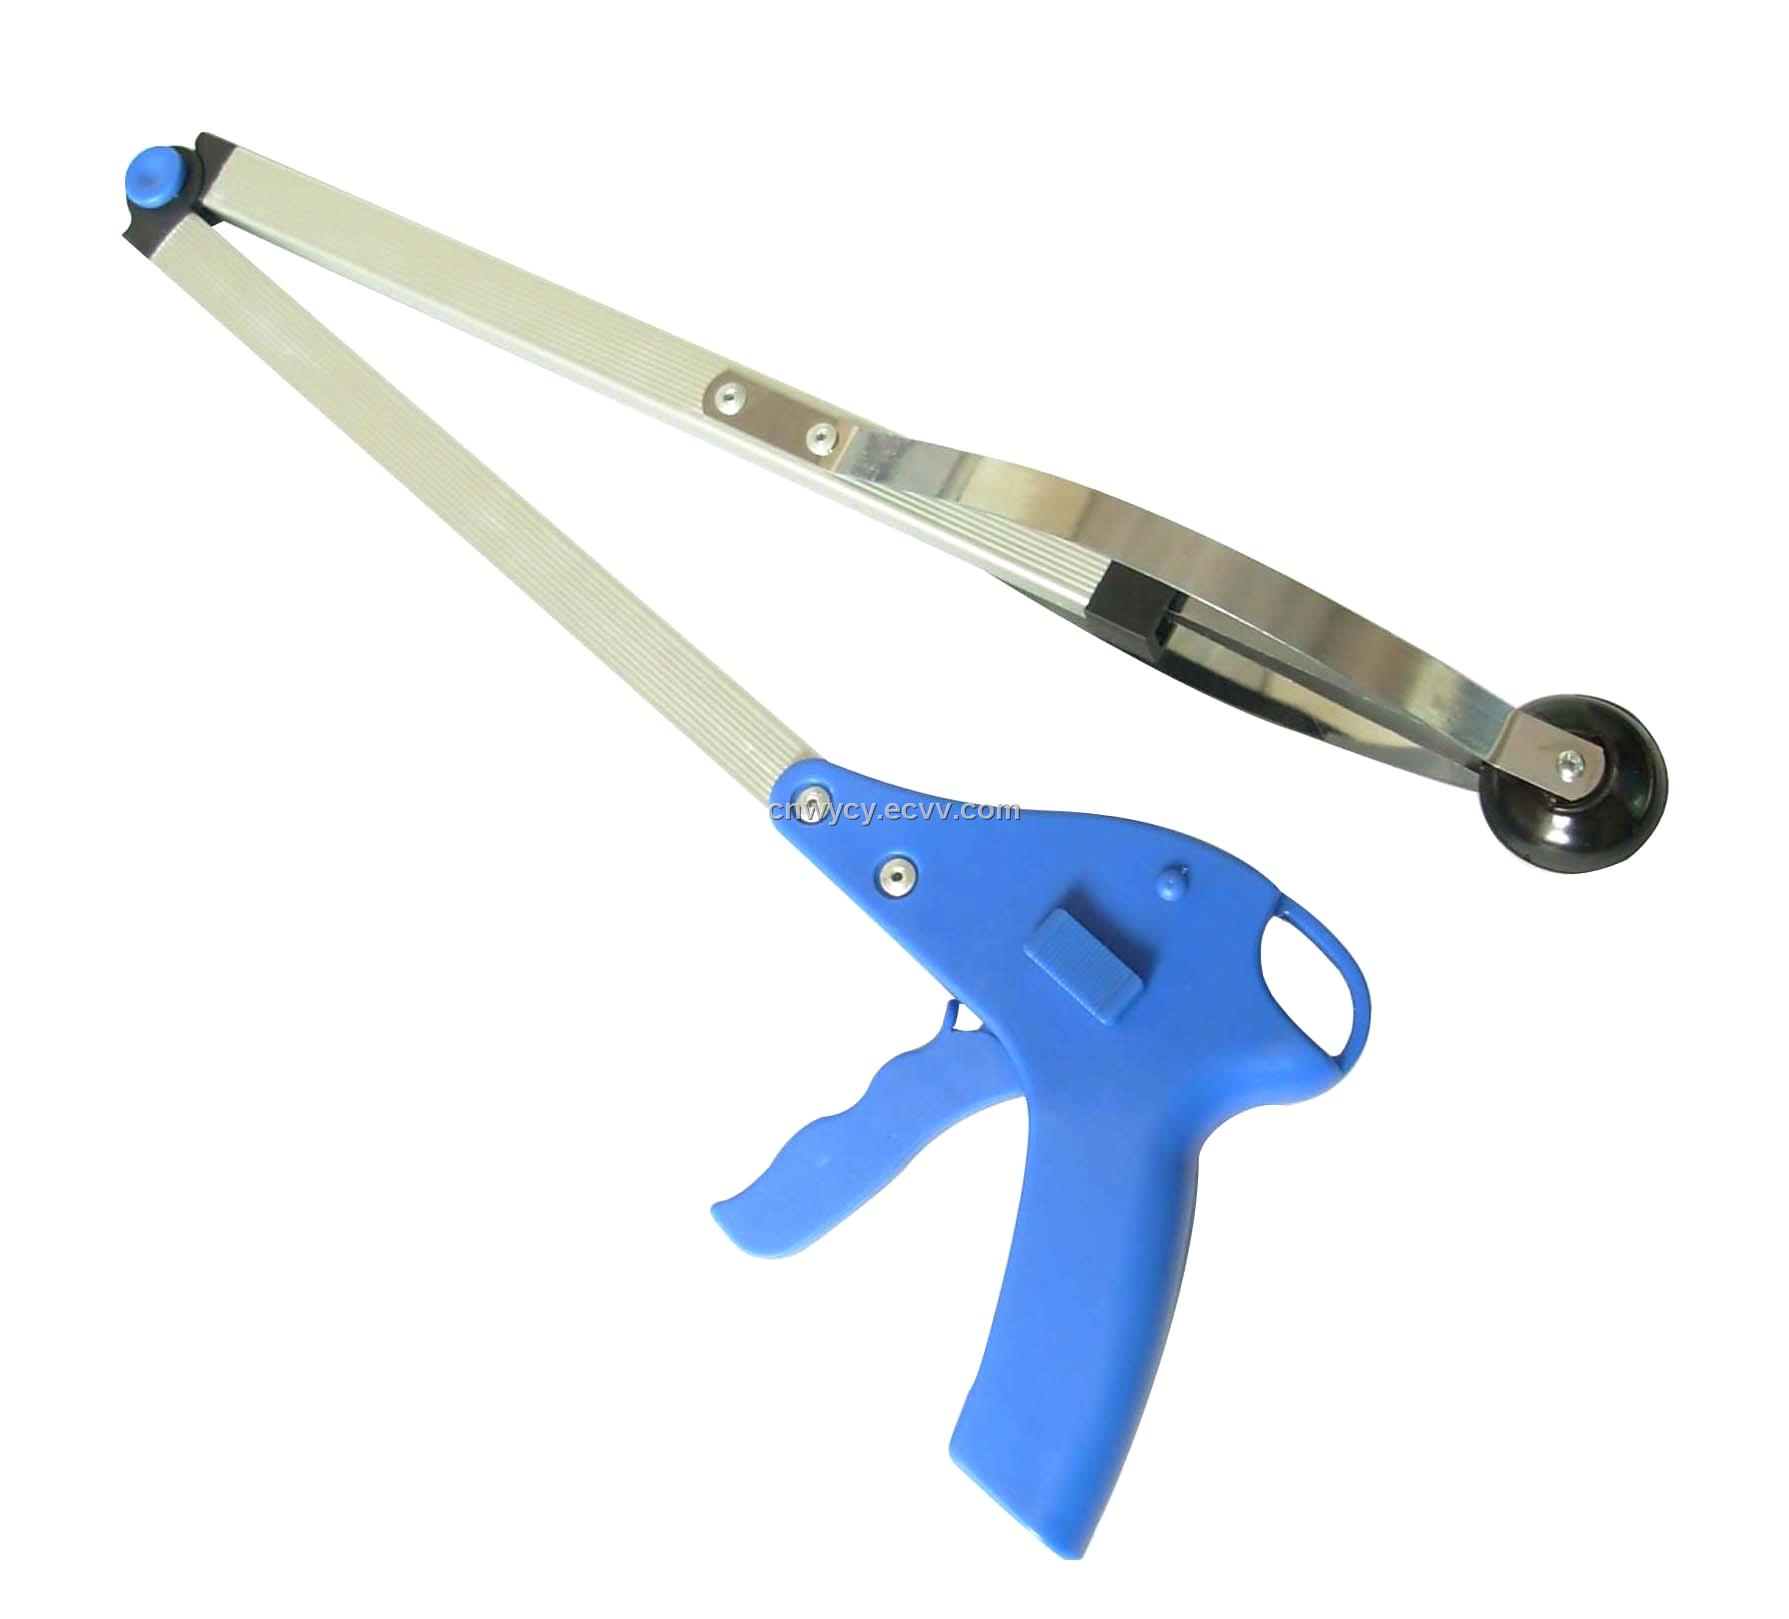
I
visited a hospital in order to see the different equipment available
to/for disabled people. However I was not allowed to take pictures as
it would me violating patient privacy. I did get to look around at a
number of equipment kept in hospitals, such as bed lifts, heart
monitors,walking frames, food trays ect. My mother recently had
appointment at her hospital Queens Square, to track her progress with
the new drug Frampadine she was put on trail, it was to highlight if
her speed of walking had
improved. However during this appointment I was not allowed to take
images of my mother because it was in a public place with other
patients. However, I did get to speak to her physiotherapist. She
gave me a brief explanation on to why the hospital where
giving only a limited number of patients the trail drug, this was due
to funds. The NHS has not agreed to fund the drug, therefore it is
privately given t patients. She also, explained to me that my mothers
walking had improved in speed from 2min in 2013 to 1min 6sec's in
2014, in a 25ft straight lined walk.
The
reason for attending the appointment was to see how my mother used
her crutches and to see how often she put them down. How she placed
them down, and how many times it would fall.
After observing my mother I noticed
that when she travelled to different places her crutches fell down on
many occasions, due to her poor balance she struggles to pick them
off the ground. I decided to focus on how to this problem, by
creating a product that will allow the crutches to stand alone. A
major challenge that I faced was creating a product that would be
easy for disabled people to use as well as being a reliable. After
interviewing my mother, I found out that she wanted a crutch stand
that would not interfere or obstruct her when walking. Also she
wanted the crutch stand to be easily assessable when she travelled
from place to place, as well as allowing her to put it away when not
in use. I decided to research as well as experimented with a number
of ways of how to make crutches stand up such as hooks, clips,
turning them upside down, putting them in a umbrella stand and
existing stands, from that I concluded that each crutch had to have
at least three points of contact to the ground just like a tripod
stand.
The
methods I used to come to come to my final outcome were various
different creation that tried to solve different issues that disabled
people faced on a daily bases, such as a carrying items and meals up
and down the stair. From that I created a stair lift that contained a
storage unit below the seat the was able to rotate from left to
right. As well as creating a tray that allowed the user to carry
meals up and down the stair, that also clipped on and off on the
armrest. Also mixing with other disciplines such as the fashion
pathway where we created new and different ideas. At first this
seemed to be a distraction from my original project, but I soon
realised that time out exploring different ideas was needed.
Throughout the project I kept a a sketchbook, notebook as well as a
blog to highlight my progress through out my project. The sketchbook
was helpful to gain and record ideas quickly, as well as
experimenting portrayed by a number of sketches and images. The blog
was also an effective tool in my FMP, as it helped me reflect on what
I had achieved through out the weeks and think about how I could
improve my project further.
To
take my final idea further I started experimenting with different
materials to create my three legs on each crutch resembling a tripod.
In which would make the crutches stand alone. When creating a tripod
stand made out of wooden square shaped legs, I noticed that it may
not stand on all floor surfaces such as carpets and wood floors;
because of the bottom of where the legs of the tripod stand meets
contact with the floor. I decided to change the shape of my tripod
legs from square to circle. This change highlighted that the best
shape to use was a circle shape, as the crutch stood more sturdy and
freely on tiled floor, carpet and wood floor. However, the material I
used which was plastic was to weak to support the metal frame of the
crutch; concluding that the material that I should use to build the
structure of my tripod stand should be the same material used to make
the crutch, which is metal.
After
gaining different forms of feedback I found the most effective and
helpful to be the one to one sections with my various different
tutors. I found these to be very helpful to further develop my ideas.
As well as my tutors my peers lead me to look at different existing
products and companies, in addition to having interviews with other
individuals who have different disabilities. They also got me to
think about wider concepts and ideas. Group sits forced me to review
and reconsider what I had done so far as well as what to do next
within my project.
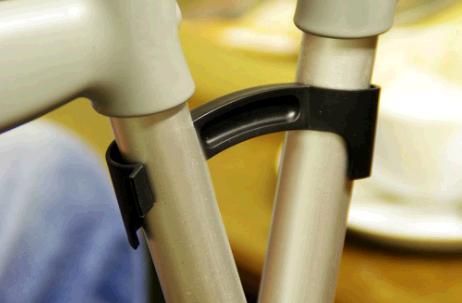
To
create my final product, I decided to attach both crutches together
using a clipping device, so that they both would create two points of
contact to the ground. As I already had two points of contact all I
now needed was one more point of contact. From this I created a extra
leg, that imaged a tripod stand. To make it suitable and easier for
the disabled user to use, I decided to attach the third leg to the
clip that attached the two crutches together. I wanted to make the
third leg attachable and detachable making it easier for my mother to
use on a daily bases, so I created another clipping device resembling
a clamp, which allows the user to pull off easily when not in use.
The third leg was made out of three metal pieces that folded into
piece when the third leg was no longer needed, imaging a fordable
walking stick; making it very useful for the user.
If
I had to restart my project from scratch, I would of tried to visit a
wider range of sites in which would support my project further. As
well as focusing and researching different disabilities, so I would
be able to create a product that would fit a number of disabled
individual needs. If I had more time and facilities, I would have
created mechanism within my end product the crutch stand, that would
allow the user to accesses the third leg with just one press of a
trigger. The trigger would release the third leg of the crutch, also
the trigger allowed the leg to bend back up. Also, I would of made
the device more easier to use for disabled people, giving it less
functions. From this I have learnt how to manage my time more better,
as well as making a product the fit the needs of the clients. When
furthering my studies in product and furniture design, I would hope
to continue my investigation in to solving problems that disabled
people face on a daily places and creating a product that would
support their needs.