Wednesday, 23 October 2013
Reflection
Through out the last few weeks my foundation course has taught me a lot in such little time. It has helped me realise that my future starts here as well as how to go about presenting my work. I have now realsied in order to go forward in my career, I have to focus in producing a number of ideas because my first intial idea might be very vage or common or obvious and a good idea takes a number of ideas combined together. It aslo taught me to work faster in creating my ideas, while a person spends hours and hours on one sketch and idea another person is creating 20 different ideas in that space of time and has many to choose from. This course has also opened my eyes to a number of different equpiment, technology and courses that I didnt know before. It has helped me decide what I want to do in the future which is product design. Before the couse has started I am already putting togther ideas of different products that I could create in the future. It has made me make sure all my ideas is put down on paper, whether its a sketch or a photograph.
Graphic- Poster Of My Future Exhibition
This Poster reflects where I want to be in 20 years and where I think my career will go. It portrays my ambition and where I think my hard work will get me in life. I was given a week to finalise this mini project, throughout that week I had to put together a number of different ideas to come up with the final layout of my poster. As I have a huge interest I fashion I decided to base my poster and exhibition around fashion. The idea behind the poster was to promote the exhibition as well as promoting my clothing line and my clothes. My brand name is I AM KAY in bold capital latters that will be in the name tags of each garmet, Thsi is the reason why it dominates the image. I chose the colours black and red because they are two dominating and powerful colours that contrast eachothere.
![]()


Graphics
Through my foundation course I have learnt that I would have to woprk fast in the future. Rather than spending hours and hours on sketchs, I would have to become less delicate with my sketches and spend less time as by doing this I will create more images and create more ideas to work with. My challege was to ceate a number of imageses useing me different senses. For example one of the tasks set was to create a image of the person sitting infront of me drawn with my weaker handd which is my left hand. I also had to draw another person with my eyes closed. I was only given 5-10 minuets to draw each person. Having done this task I learnt to rely on my intuition and to be less delicte and concern with my sketches.


Another task I did was create an unusual abstract face using collarge from magazines that had images of celebrities faces. I enjoyed doing this as I did not have a original plan or any idea of what I wanted the outcome to look like. I just went with the flow and let the piece speak for itslef.


Another task I did was create an unusual abstract face using collarge from magazines that had images of celebrities faces. I enjoyed doing this as I did not have a original plan or any idea of what I wanted the outcome to look like. I just went with the flow and let the piece speak for itslef.

3DD Making A Bridge
I was given a challenge to create a bridge from just 8 pieces of A1 card and bamboo sticks and celotape, this bridge would have to hold a romote control car that would travel across it. The stucture I created had to hold the car and enable it to travel from one point to another. The distance between each point was about 20 feet long or longer from the staring point to the finishing point. however only two pilllars could touch the floor. This challenge involved me working in a grpoup of 7 people.
The first thing we had to do was sketch different ideas of what structure that we would form. We then narrowed down our different ideas to one that we felt would support the car. The base that would support the car was made out of flat cardboard. Then we decided to create the pillars, to do this we cut the carboard in half to create more to use for the base. We also created bareiers so that the car did not fall off the bridge. Once we finished we noticed that our bridge was slightly slaunted, however we used this to our advantage, to challenge our teacher to get adcoss the bridge successfully. The out come was successful as the car travelled the whole journey and did not fall off and our bridge did not collapse.


The first thing we had to do was sketch different ideas of what structure that we would form. We then narrowed down our different ideas to one that we felt would support the car. The base that would support the car was made out of flat cardboard. Then we decided to create the pillars, to do this we cut the carboard in half to create more to use for the base. We also created bareiers so that the car did not fall off the bridge. Once we finished we noticed that our bridge was slightly slaunted, however we used this to our advantage, to challenge our teacher to get adcoss the bridge successfully. The out come was successful as the car travelled the whole journey and did not fall off and our bridge did not collapse.
Ideas for the bridge


Wednesday, 2 October 2013
3DD-Making a structure that held up three balls
For this challenge I had to create a structure that supported three balls, however all three ball could not touch and the structure had to be 30cm off the ground. This structure had to be made out of 20 pieces of dried spaggeti and a hot glue gun. I started by sketching different ideas in order to come up for my final stucture, having done that I came up with the idea of having boxes stacked on top of each other. I started glueing the side panel for each box togther. This was quite difficult because the pieces would not hold togther, so I found myself adding more and more glue. Each of the three side panel had a square shape, as well as a X shape in which would insure that the balls would be secure. After I decided that the next step would be to start create the base (bottom) of each box. I followed out the same process, adding the X shape so that the ball did not fall through. I carried out this process to make the rest of the levels of the tower. This idea was a success as it held all three balls, which did not touch.
![]()


 I was then asked to support the structure I made as my teacher was going to throw a unkown object at it, so I had to protect my structure. My challenge involved me only using 1 A1 paper and 2 sheets of A4, that would be stuck together with glue. My first step was to scrunch up papper in a variety of sizes in which was added inside my stucture to support it againstg force. I then scrunched up paper and put it ove each panel. Having done this, I wrapped up paper around the whole structure. The final outcome involved my teacher throwing a basketball at my protected structure. My structure was successful in my opinion as it took him four attempts for my structure to collapse, however it still did not fully collapse until my class mate stamped on it.


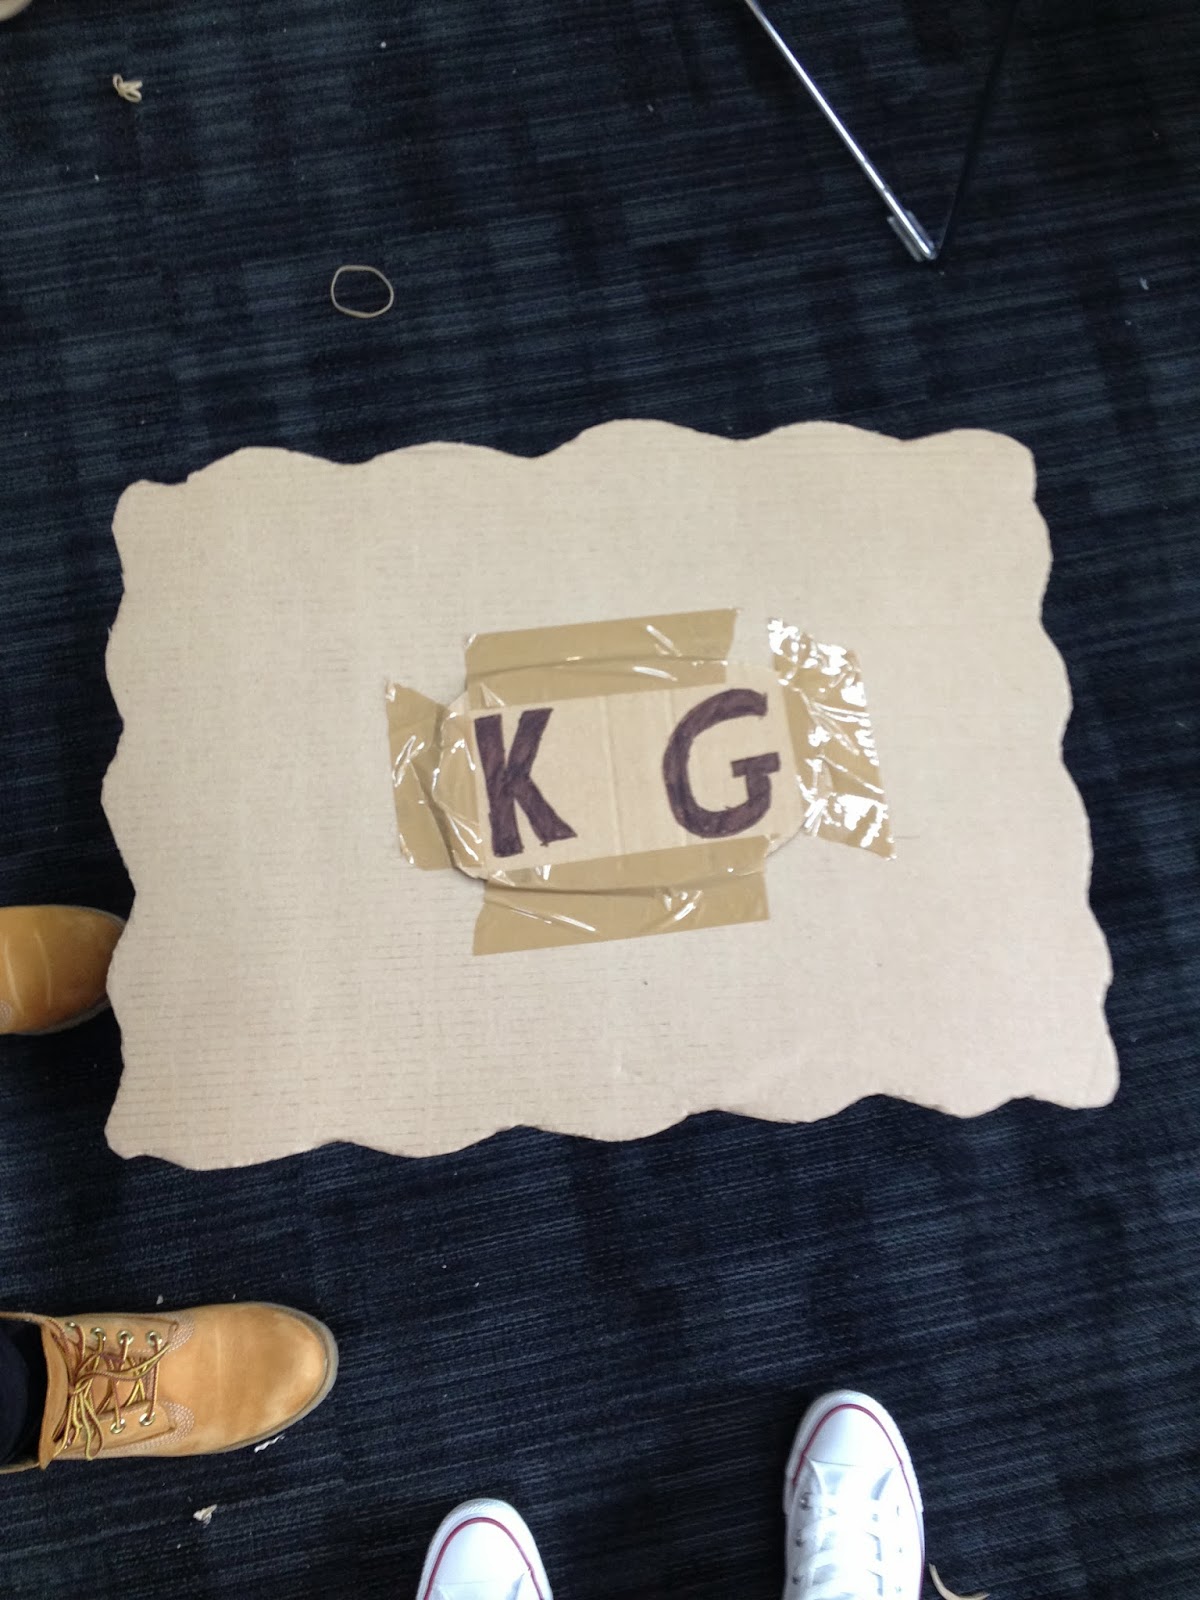
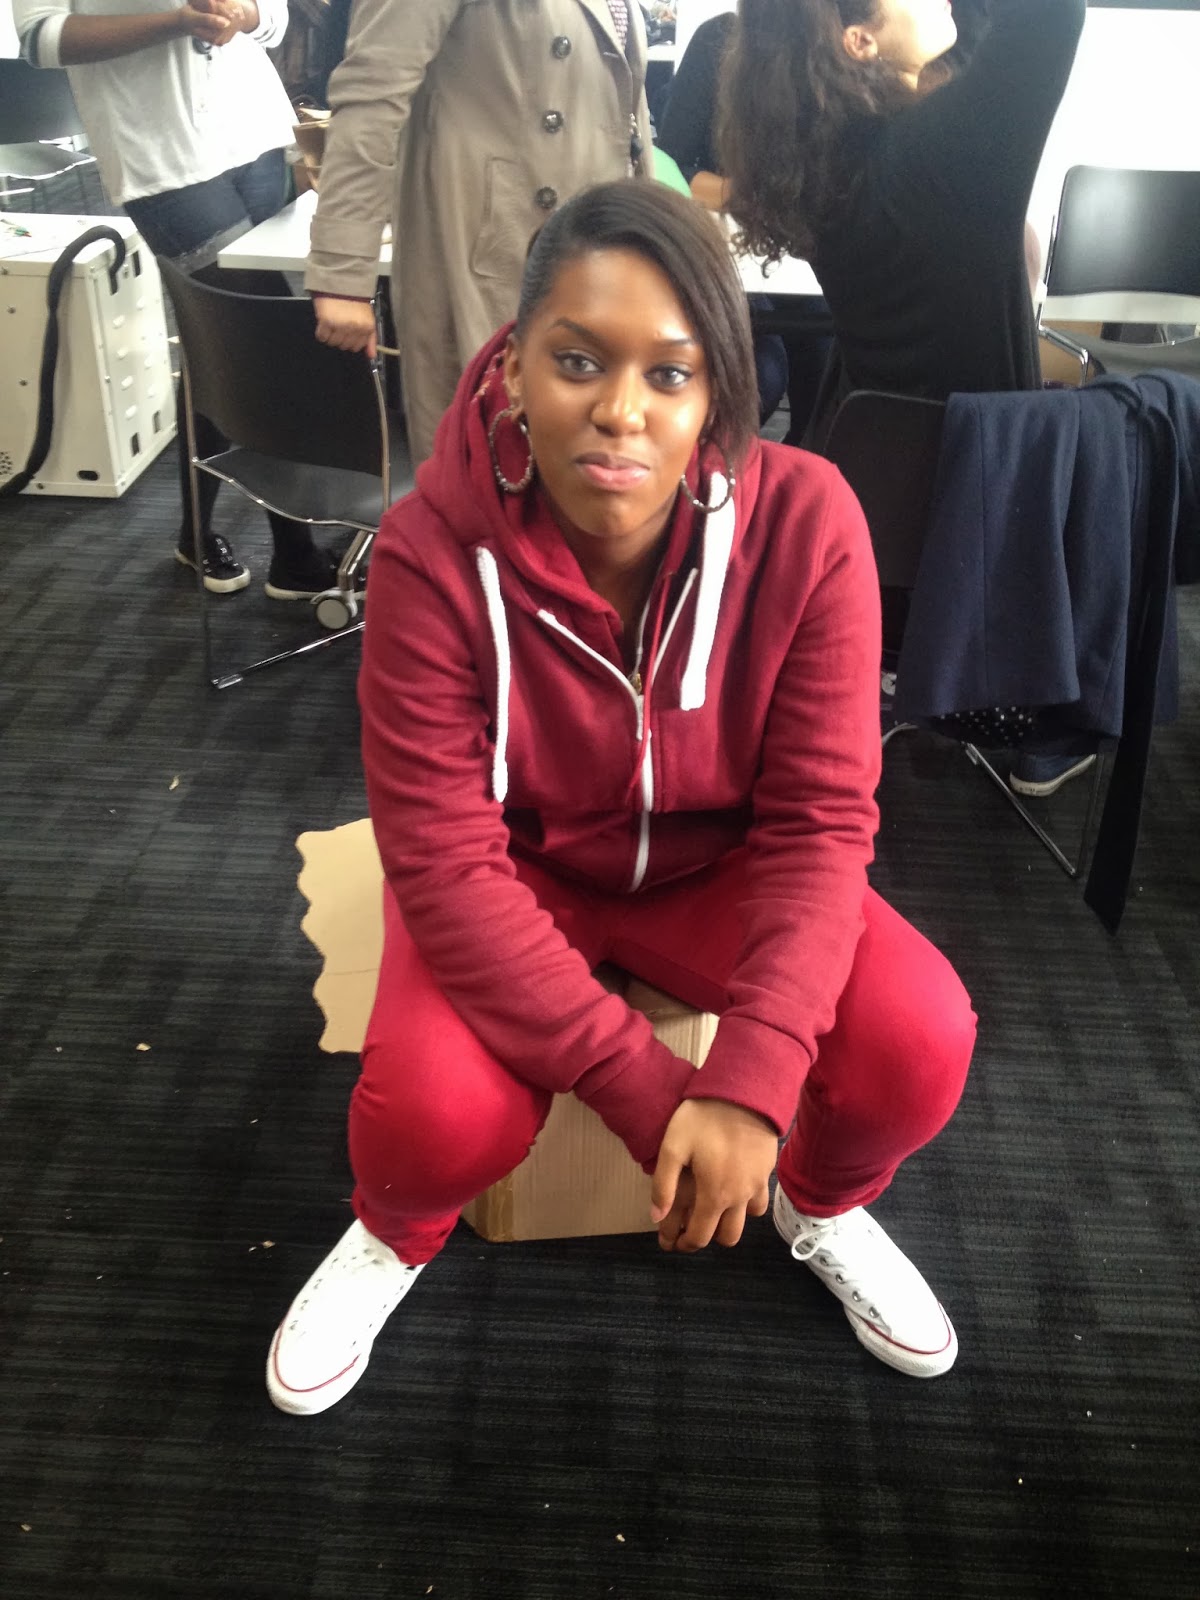
3DD-Making a object that hold's human wieght (seat)
For this challenge I was asked to create a object that would hold up the wieght of a human for atleast 30 seconds. This task involved me only using four sheets of cards and masking tape. To do this i paired up with a friend and the firth thing we decided to do is sketch different structures; to get the idea of the different shapes, structures and forms that we would need to create in order to make this object. We realised that we had to focus on a systamatic stuctuture for the inside of the seat, in order for it to hold up a person. Next thern started to measure and cut the card. To do this we folded the card and let it take its own shape, which turnt out as a hexagon. From there we knew that we would have to measure each and every piece of card that we cut. All the pieces os card had to be 30cm high. Afteer doing this we put the first to pieces of card as a cross shaped a put a slit in the middle of them so that they where both attached to one another. From there we decided to add four more pieces of card that was the same size, to fit in the hexagon base; this was the base structure that we relied on to hold up the person. Finally we cut out a top for the person to sit on.
![]()


3DD- Making an object out of paper that would hold a water bottle
This project challenged me as it made me think and compose a idea that had to resolve the problem, which involved me comming up with a idea in which I had to put together a paper componet that held up a water bottle. To do this I was given instructions, which was to only use 1 A4 paper and a arms length of tape to put it all together. I decided to do this by ripping papper and scruppling it. I then taped each piece together to make a base for support. Aftr doing this I ripped more paper and twisted four pieces togther also i tapped it to the base, which would caved the bottle in so thst it wouldnt fall out.
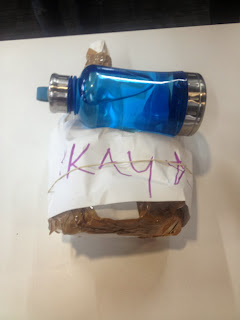
Once the piece was finished, I tested it to make sure it worked, it was successful and held the full water bottle.

Once the piece was finished, I tested it to make sure it worked, it was successful and held the full water bottle.
Subscribe to:
Comments (Atom)